
Adding Images#
Let’s add an image to the index.html page.
Find an image that you like (from the internet or your personal computer). Save or move the file to the same folder as index.html.
The <img> tag is very similar to the <a href> tag that we just used. It has two required attributes:
srcor the sourcealtor the alternative text for the image
src can be a local file or a URL to an image on the web, just like the href attribute in the <a href> tag. alt is for the alternative text or the text that is displayed for screen readers or browsers that don’t support images.
Example#
Learn more about the img tag via W3Schools.
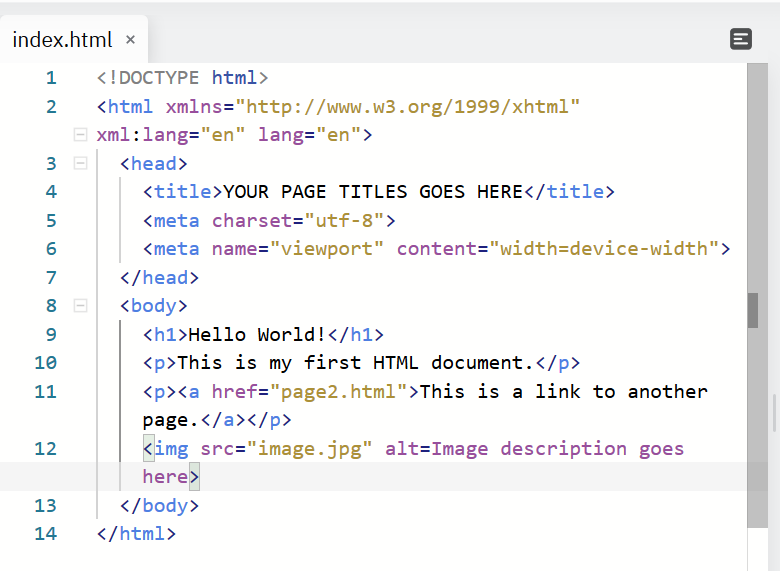
On your index.html page, add the line <img src="imagefilename" alt=Description of image> in the <body>. Be sure to use your image file name in place of the italicized text above.
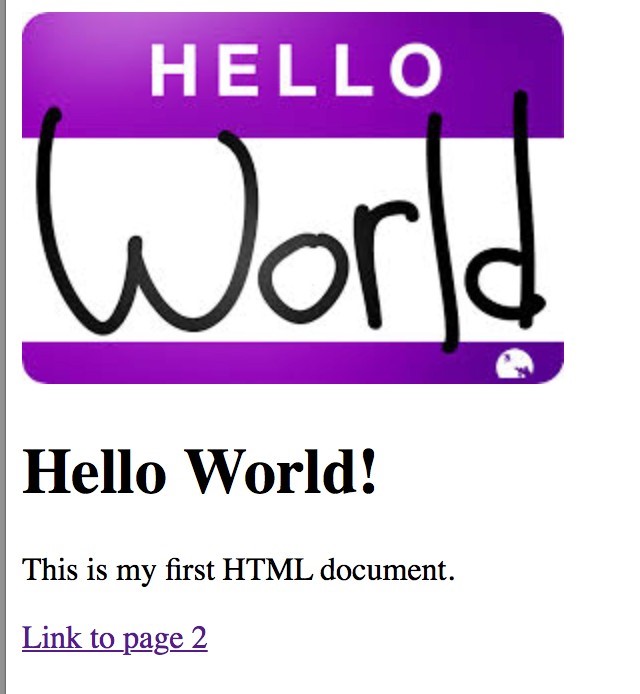
View the page in a web browser to see if the image has loaded correctly.
Directory Structure#
At this point, our website project only has one image. If we end up using multiple images, we might want to put all the images files in an images folder.
Create an images folder and move your single image file into the folder. What happens when you reload index.html? What would you need to modify in the HTML to correctly display this image?
HINT: Think about absolute versus relative file paths.
Application#
If you haven’t already, add an image to your index.html page.