
Cascading Style Sheets#
You can customize HTML using style attributes, but imagine you want all instances of the <h1> or <p> tag in your website to have the same formatting. Doing this with style would require adding code every time you use these elements.
Cascading Style Sheets (CSS) provide a more elegant way to add these style attributes across the pages in our site. For those familiar with website-building tools like WordPress, Weebly, or Wix, CSS is a main part of how different site “themes” are managed.
For more on CSS: https://www.w3schools.com/css/css_intro.asp
Let’s create a simple external CSS for our site. The CSS is cascading because there is a hierarchy to the way that styles are applied.
If styles are defined within the document (as in the previous example), then they are applied before those in the stylesheet. This lets us override the stylsheet if there is particular content that we would like to style differently.
File Downloads
Open this chapter’sstyle.css file. The CSS file doesn’t contain any content, it only defines the styles for the various elements in HTML files.
Let’s get started by adding a few styles for the background, <h1>, and <p>. Each tag is defined first- these are referred to as the selectors.
Our style instructions for each tag are enclosed in { }. These are called declarations. We can add as many style declarations as we would like in between the brackets, separating each with a semicolon. Each declaration has a property followed by a colon and then a value.
It is common practice to place each declaration on a new line and to indent the declarations, but this is only to make the file easier for us to read and edit. The spacing has no impact on how the computer reads and interprets the code.
CSS Declarations#
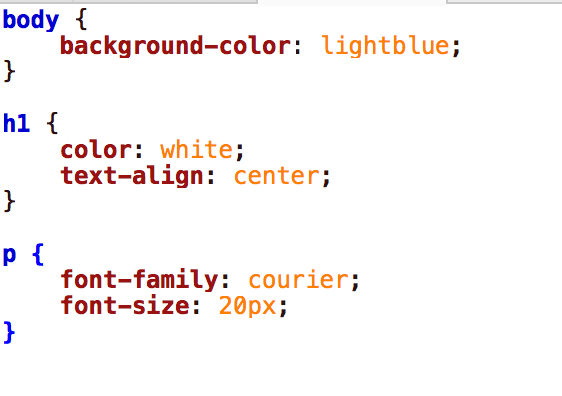
Putting that all together:
body {
 background-color: lightblue;
 }

h1 {
 color: white;
 text-align: center;
}

p {
 font-family: courier;
 font-size: 20px;
}
This CSS sample has three declarations (body, h1, p), and each declaration has at least one property (background-color, color, text-align, etc).
Linking to CSS#
Now we need to link the CSS to any HTML file where we want the style sheet to apply. This connection is called a reference. Each HTML page must reference the CSS to apply it to the page.
We create this reference in the <head> of the HTML document with the other metadata. In the <head> of index.html add the reference <link rel="stylesheet" type="text/css" href="mystyle.css">.
<head>
 <title>Page Title</title>
 <link rel="stylesheet" type="text/css" href="style.css">
This line can appear anywhere between the <head> and </head>.
The
<link>tag is another way to create links to other documents.In this case the
relattribute defines the relationship between the HTML file and the linking document.The
typedefines the type andhrefcontains the URL or location reference for the file.To learn more about the
<link rel>tag: http://www.w3schools.com/tags/att_link_rel.asp
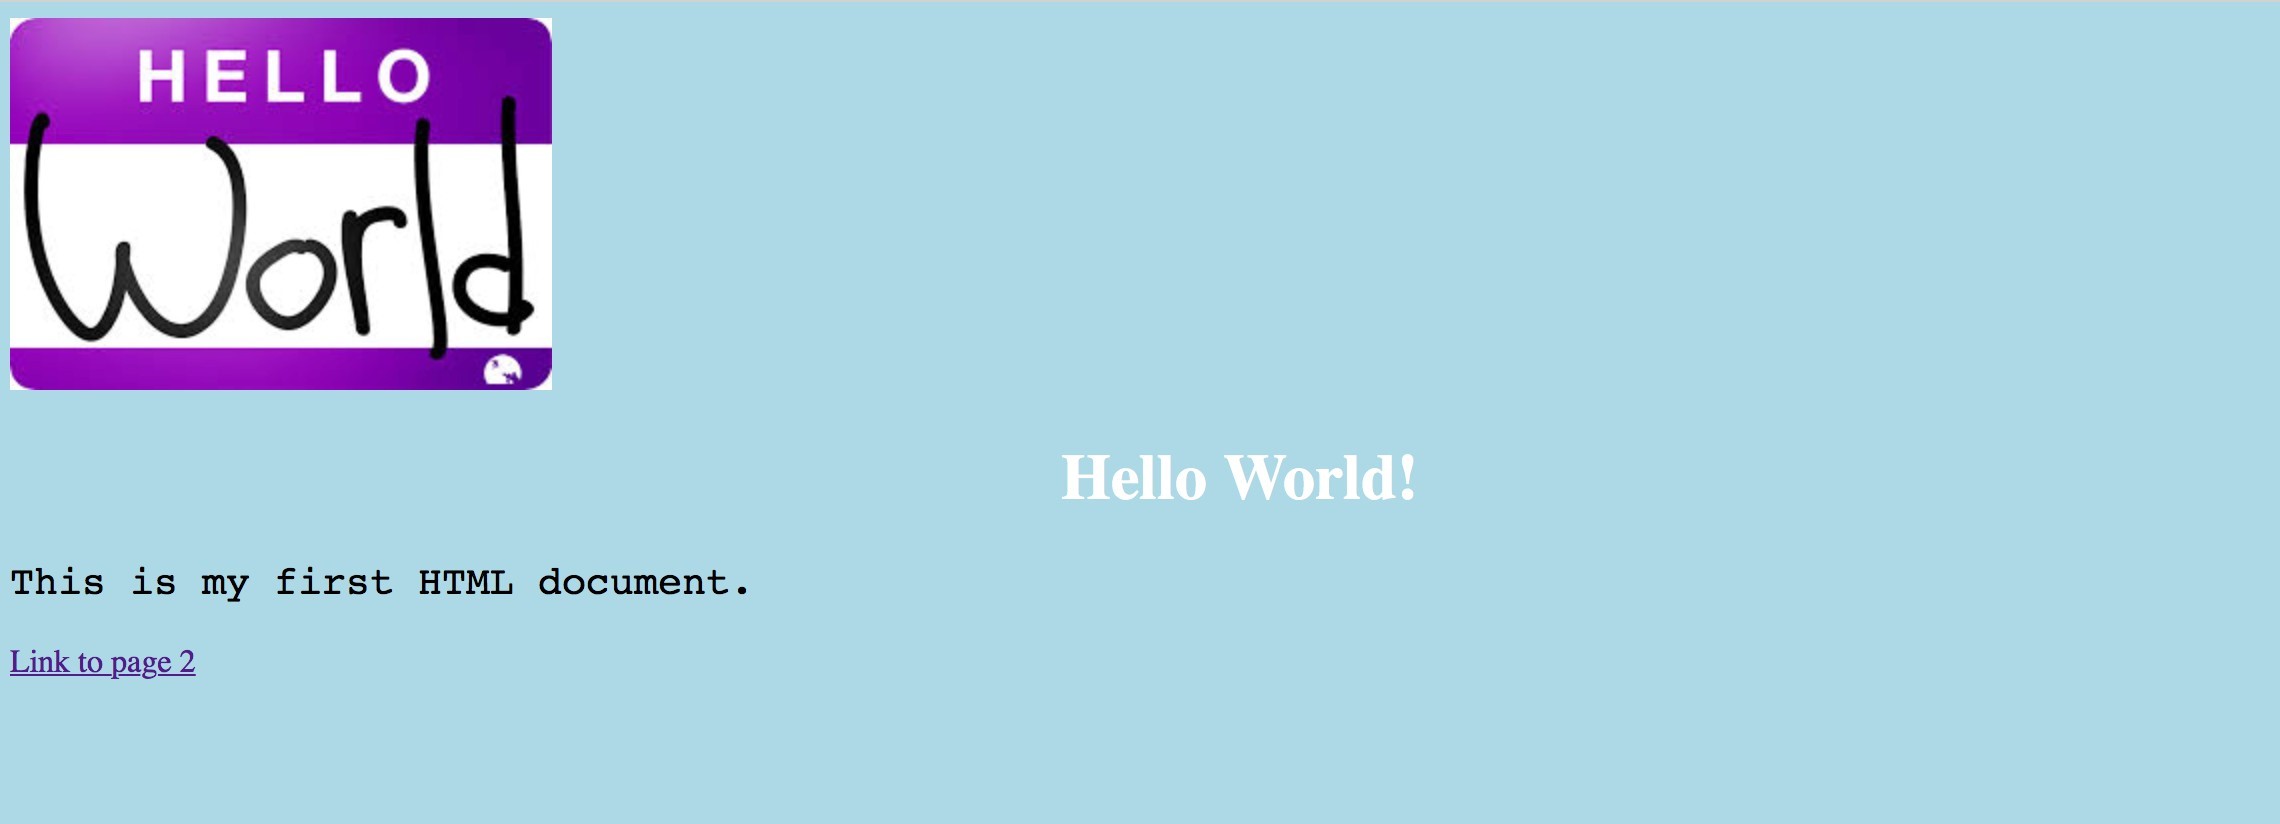
Open the index.html file in a web browser to see the updated CSS.
However, if you click on the link to page2.html, it will look the same as it did before. This is because we need to link the stylesheet to each of the pages. Add the same <link rel="stylesheet" type="text/css" href="mystyle.css"> to page2.html. Now both pages should share the same style.
Application#
If you haven’t already, experiment with creating a CSS and linking it to your HTML pages.